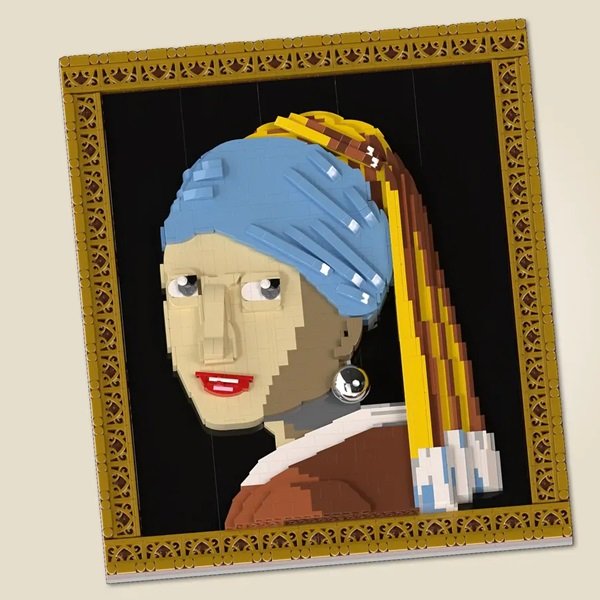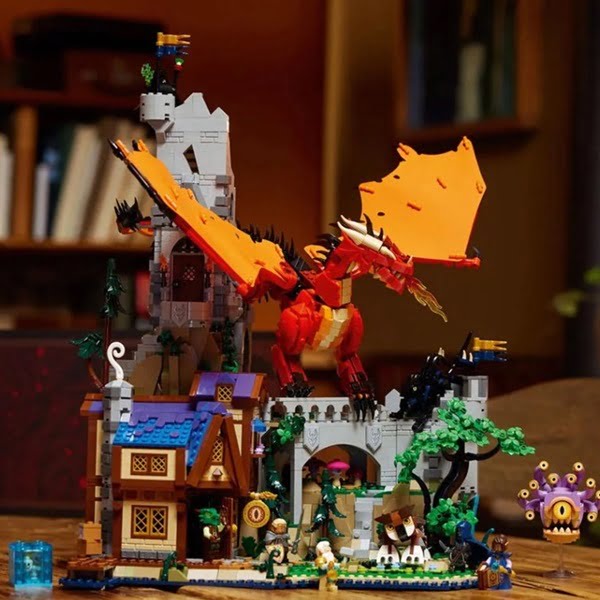
LEGO Dungeons and Dragons will be on Sale on April 1!
Lego Dungeons and Dragons sets consist of 3745 pieces. Each piece offers a rich and immersive building experience.

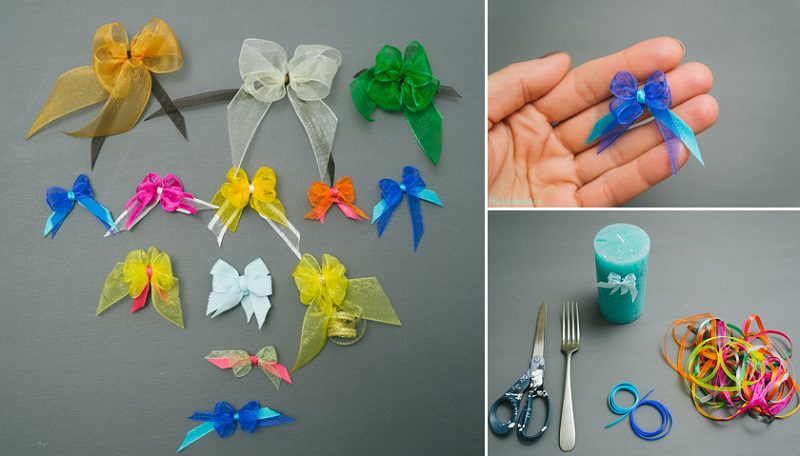
If you are always looking for ways to make your gifts more appealing to people using very simple design then, the Tiny Bow design we are about to show you in this tutorial may be what you always have wanted. Everyone knows bows are gorgeous and that’s why they are always trying to get it on their dresses. We even make ribbon bows on our children’s hair! Here we’re going to show you how to make beautiful bows for your gifts howbeit on a much smaller scale so that they don’t look out of place when you use them for your decoration.
Tiny bows are pretty easy to make, and you can teach your children how to make one, they will love you for it. are you a teacher? you can set this up as a project first your students especially those within the age range of 6-12 years. They can do with a little creativity and create something really beautiful.
There’s no limit to the use of these tiny bows; you just have to think out of the box. You can pin them as toppers when wrapping gifts or give cards, pin it on your hair or kids hair. You just have to be creative enough, a beautiful one on your refrigerator wouldn’t be such a bad idea either.
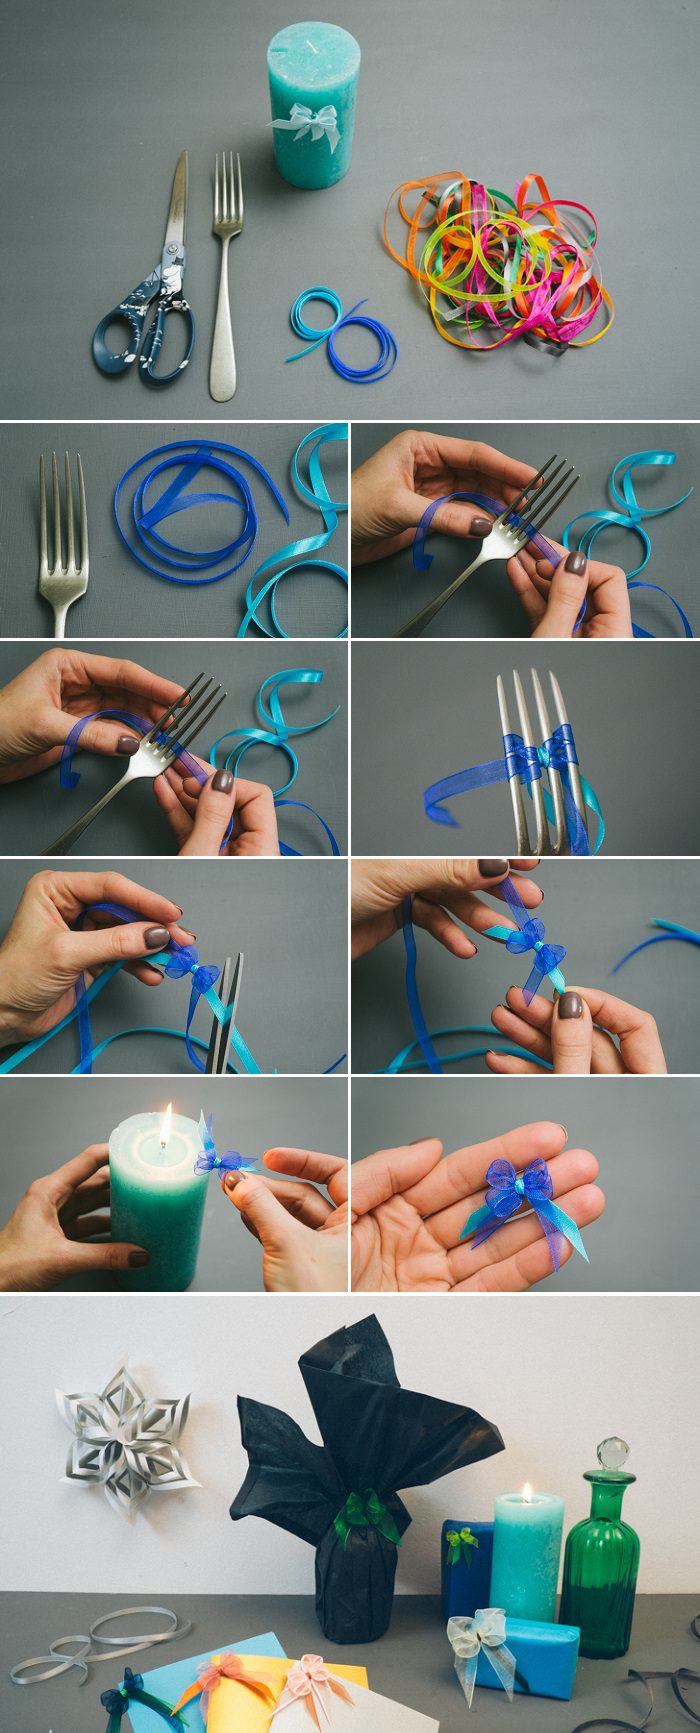
Below you’ll find the list of the materials you’ll need for this project and a step-by-step guide. We’ve made the steps very clear that pretty much anyone can follow them. We’ve also attached pictures to each step to make them more transparent. You need not worry about the cost of this little project. The materials are quite cheap and if you’re a regular do-it-yourselfer like me, you probably already have all or most of the materials and tools needed for this project.
What you need:
Tools: Candle, Scissors, Fork
Supplies: Wide Chiffon ribbon, Narrow Satin ribbon
Step 1: Take your fork with the prong facing upward. Ensure your ribbons are soft and it shouldn’t be too wide. Wider ribbons don’t form beautiful knots.
Step 2: Braid the ribbon alternately between the prongs of the fork as shown below
Step 3: Repeat the braiding four times.
Source: Handmania