How to Stay Safe in a Thunderstorm While Camping
For anyone who enjoys the great outdoors, knowing how to stay safe in a thunderstorm while camping is essential.

If you wish to ensure your camper’s longevity and functionality for many seasons to come, you should winterize RV or camper. As the cold weather approaches, it is of utmost importance to protect your camper from the harsh winter elements to avoid costly repairs. If you wonder how do I winterize my camper, we are here to help you!
In this guide, we will answer all your questions and provide you with a with a step-by-step process to safeguard your investment.
Neglecting RV winterization can lead to severe and costly damage. When temperatures drop, the water in your camper’s pipes and tanks can freeze. And this causes them to crack or burst.
Additionally, if you expose your RV to cold weather for a long period of time, the exterior, tires, or other vital components of your RV might be damaged.
To learn more about how to winterize a travel trailer, you can take the necessary steps to prevent the issues we listed above. You should always note that winterizing camper in a proper way ensures the longevity of your RV.
Knowing the right time to winterize your camper is essential to preventing damage and ensuring your RV is protected throughout the colder months. You can find key times below to learn how to winterize campers.
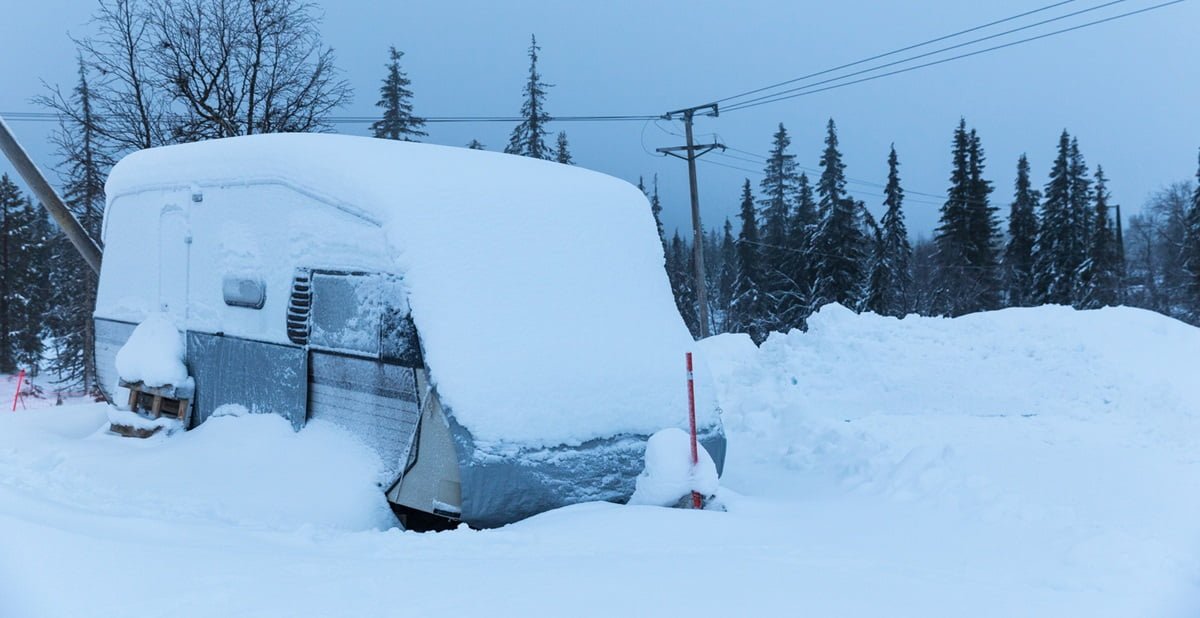
The initial frost can be detrimental to your camper’s water systems. Freezing temperatures can cause the water in your pipes and tanks to freeze and expand, leading to cracks or bursts.
As soon as the camping season is over for you, you can get your camper winterize. This period depends on your location and camping habits, but it typically falls in late fall.
If you plan to store your camper for a long period of time, especially over the winter, you should winterize a travel trailer beforehand. Because long-term storage without proper winterization can lead to mold, mildew, and mechanical issues due to cold weather exposure,.
After the Last Use of the Year
Once you have finished your last trip of the year, you should immediately start winterizing a camper. This way, you will not forget to do it later. Thus, you can protect your camper from any early winter weather.
If you wonder how do I winterize my camper trailer, you should first get the necessary supplies beforehand. Because having the right tools and materials on hand will make the process smoother and more efficient.
If you are ready to learn about how do you winterize a camper, you can follow the steps below.
The first crucial step in winterizing RV water system is to remove the water filters. This prevents any residual water from freezing and damaging the filters or the system itself.
To begin, locate all the water filters in your camper, including those in the main water line and any additional in-line filters. Carefully remove each filter, following the manufacturer’s instructions, to avoid any damage.
It is a good idea to store the filters in a dry, safe place during the winter months. By removing these filters, you ensure that your camper’s plumbing system remains intact and ready for use when warmer weather returns.
To drain the tanks, you should begin by emptying the fresh water tank completely. After this step, you should drain the gray and black water tanks.
It is essential to ensure these tanks are thoroughly emptied and cleaned to prevent any residual water from freezing, which can cause significant damage. Use a tank cleaning wand or a built-in flushing system to remove any remaining waste.
Additionally, open all faucets and flush the toilet to clear out any water in the lines.
The next step in RV winterization is to bypass the water heater. This step is essential to avoid filling the water heater with antifreeze, which would require several extra gallons.
Even though most campers come with a bypass valve installed, yours may not. In this case, you can easily add a water heater bypass kit.
To bypass, you can locate the heater and turn the bypass valve to redirect the flow of water. This step ensures that the antifreeze goes directly into your plumbing system instead of the water heater.
Pumping RV antifreeze is a crucial step to prepare your camper for winter. You should start by using a water pump converter kit or disconnecting the inlet side of the water. Later, attach a clear hose.
Additionally, place the hose into a jug of non-toxic RV freeze. Turn on the pump to draw the antifreeze into the system. Open each faucet one at a time, starting with the farthest from the pump, until you see pink antifreeze flowing. Lastly, do not forget to run antifreeze through the shower, toilet, and any exterior faucets.
Removing the batteries is a crucial step on the RV winterizing checklist. This step not only prolongs the life of your batteries but also ensures they are ready for use when you de-winterize your camper.
Start by disconnecting the negative terminal first to prevent any electrical shorts. Carefully remove the batteries and clean the terminals with a mixture of baking soda and water to prevent corrosion. Store the batteries in a cool, dry place where temperatures stay above freezing. Consider using a battery maintainer to keep them charged during the winter months.
Vacuum storage bins are necessary for winterizing an RV. These bins are to remove crumbs and keep mice out of your RV. Before storing your camper for the winter, thoroughly clean all storage bins, cabinets, and areas where food crumbs may have accumulated. Use a vacuum cleaner with a hose attachment to ensure you reach all corners and crevices. After vacuuming, consider placing mouse traps or deterrents such as peppermint oil-soaked cotton balls to further discourage rodents from entering your RV.
To prevent mold and mildew buildup, you should figure out how to manage humidity in your camper. For instance, you can start by thoroughly cleaning and drying all surfaces inside your camper. For cleaning, you can use moisture-absorbing products such as silica gel packs or dehumidifiers.
Additionally, you should ensure all windows, doors, and vents are properly sealed to minimize moisture entry.
Lastly, you can consider using moisture control products for RVs to absorb excess humidity effectively. Regularly check and replace these products as needed throughout the winter storage period. Managing humidity not only protects your camper from damage but also ensures a comfortable and mold-free environment when you’re ready to use your camper again.
In fact, you finished basic steps of winterizing a camper. However, this step is also important. Because properly cleaning and maintaining your sewer hoses ensures both hygiene and extends their lifespan.
You can start by flushing out any remaining waste and debris from the hoses using a hose rinser or dedicated hose cleaning attachment. Once flushed, thoroughly scrub the exterior of the hoses with a brush and a mild soap solution to remove any residue and odors. After cleaning, ensure the hoses are completely dry before storing them in a clean, dry location to prevent mold and mildew growth.
Ensuring your camper is stabilized for winter storage is crucial to prevent damage and maintain its structural integrity. Start by leveling your camper using leveling blocks or stabilizer jacks to distribute weight evenly. This helps prevent undue stress on tires and suspension components. Additionally, consider using wheel chocks to prevent any unintended movement during storage. If your camper has slide-outs, retract and secure them properly to prevent leaks and minimize exposure to the elements. Finally, inspect and seal any potential entry points for pests to keep your camper secure and rodent-free.