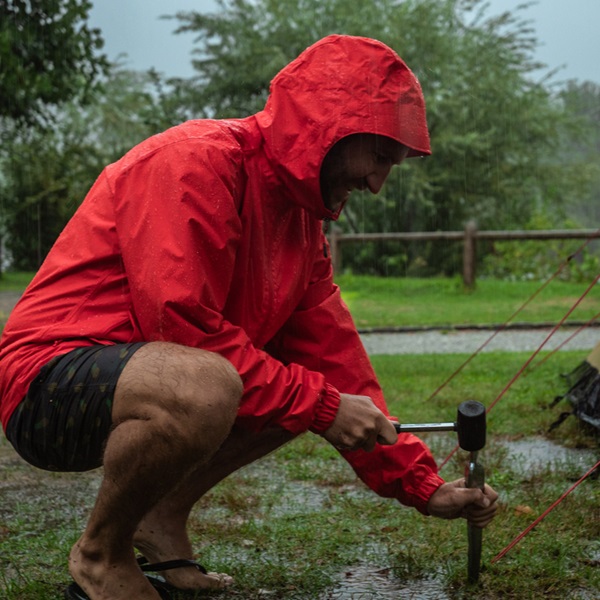
How to Stay Safe in a Thunderstorm While Camping
For anyone who enjoys the great outdoors, knowing how to stay safe in a thunderstorm while camping is essential.

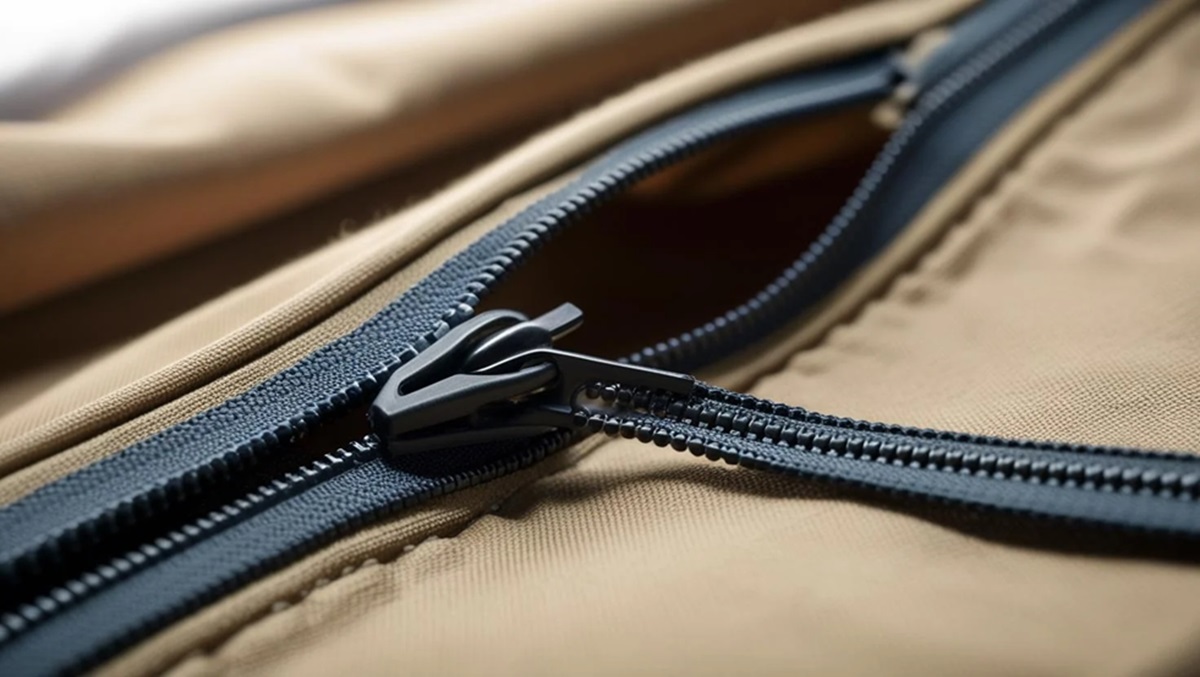
Camping offers a great escape into nature. However, unexpected challenges can arise. One of the challenges you might face is a broken tent zipper! A stuck, misaligned, or broken zipper can leave you exposed to the elements, insects, and cold air. If you do not have a repair kit, we will teach you how to fix a tent zipper.
Without a repair kit, it might sound difficult to fix the zipper. But you can use common items you likely already have at your campsite. Let us start to fix a tent zipper!
Materials you need:
You know, a malfunctioning tent zipper can quickly turn a peaceful camping trip into a frustrating experience. For example, the zippers might be stuck, separated, or completely off-track. But you do not need a repair kit to get it working again. With a few simple techniques and readily available material, you can fix a tent zipper to full functionality. So, follow the steps below we shared for you!

Remove any dirt or debris from the zipper.
As dirt, sand, or small fabric fibers often clog the zipper teeth, they make it hard to move smoothly. You can use tweezers or a small brush to remove visible debris. If the zipper is particularly dirty, you can gently scrub it with a damp cloth or an old toothbrush to clear out any stubborn particles.
Lubricate the zipper.
If your zipper feels stuck or rough, lubrication can help it glide easily. Firstly, you should rub a graphite pencil tip along the zipper teeth or apply candle wax, soap, or lip balm. After the application, you can try to move the slider up and down several times to distribute the lubricant evenly.
Adjust the slider.
When the zipper slider becomes loose, it may not close the teeth properly. You can use pliers or a multi-tool to gently squeeze both sides of the slider. With this way, you can tighten the zipper slightly. But you should be careful not to over-tighten it, as this could prevent the zipper from moving. Each time, you should test it by sliding it up and down.
Realign the zipper teeth.
One of the most common issues with tent zippers is misaligning. If you experience this problem, you will need to unzip the tent all the way and examine the teeth for bends or gaps. For instance, you can use your fingers or pliers to straighten any bent teeth. While gently pressing the teeth together to encourage realignment, you should zip it up again.
Fix a detached zipper slider.
If the slider has completely come off the track, you’ll need to reattach it. First, locate the end of the zipper where it originally came off. And then, carefully feed the zipper teeth back into the slider to make sure both sides are aligned. Once finished, you should slowly pull the slider up to secure it in place.
Secure the zipper if the fabric is torn.
Sometimes, the issue is not the zipper itself but the fabric around it. If the zipper tape is torn, use a needle and strong thread to sew the damaged area, reinforcing the stitching to prevent future tears. In an emergency, duct tape or safety pins can provide a temporary fix.
If you have a tent zipper repair kit, everything becomes much easier. Because these kits typically include replacement sliders, a needle and thread, wax, and other essential tools. By following the proper steps, you can restore your zipper in a few minutes.

Identify the issue with the zipper.
Before using your repair kit, inspect the zipper to determine the exact problem. For example, you can check if the teeth are misaligned, the slider is loose, or the zipper pull is broken.
Replace a worn or broken slider.
A damaged slider is a common cause of zipper failure. Firstly, you can use pliers to remove the old slider by gently prying open the metal stops at the end of the zipper. Slide the replacement slider from your kit onto the track and ensure the teeth align properly.
Lubricate the Zipper
Even after replacing a slider, a zipper can still be stiff. Use the lubrication solution from your repair kit—often a wax stick or silicone-based lubricant—to coat the zipper teeth. Lastly, move the slider up and down several times to distribute the lubricant evenly.
Realign or repair damaged teeth.
If some zipper teeth are bent or missing, they need fixing before the zipper can function properly. So, again, you can use the pliers in your kit to straighten bent teeth. If teeth are missing, attach a temporary zipper stop above the damaged section to prevent further separation and keep the zipper functional.
Stitch or patch torn zipper fabric.
A torn zipper tape or fabric can prevent the zipper from closing correctly. You should sticth the damaged section. For example, you use the heavy-duty thread and needle from your kit to stitch the damaged section securely. If stitching isn’t enough, apply a patch from the kit over the tear, ensuring it adheres well to prevent further ripping.
Secure the ends with a zipper stop.
If your zipper keeps coming off the track, the end stoppers may be worn out or missing. Your repair kit should include replacement stops. First, position the new stopper at the bottom of the zipper and then crimp it in place with pliers to ensure the slider stays on track.