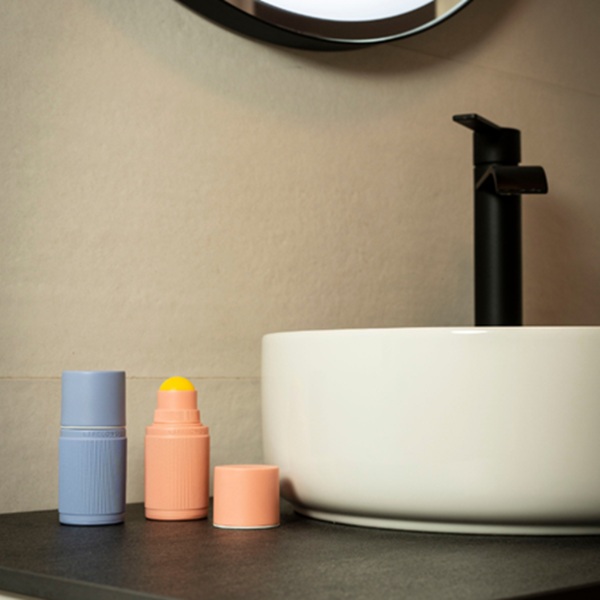
Why Should You Switch to a Refillable Deodorant Like Lifelong Deo 2.0?
Adam Webb designed Lifelong deo to be simple and sustainable. Each deodorant comes with a refillable system eliminating single-use waste.

You do not need to buy lighting equipment when you can create your camping lanterns with a few simple materials and a touch of creativity. Because DIY camping lanterns are not only budget-friendly but also customizable to suit your style and needs, you can craft your lanterns from mason jar lights to solar-powered options. We have several ideas for you! If you are ready, let us create some camping lights!
Creating your lanterns is easier than you might think. Plus, it is fun! With just a few everyday items and a little creativity, you can make beautiful, functional lights for your outdoor adventures.
We have 3 different designs of DIY camping lanterns for you.
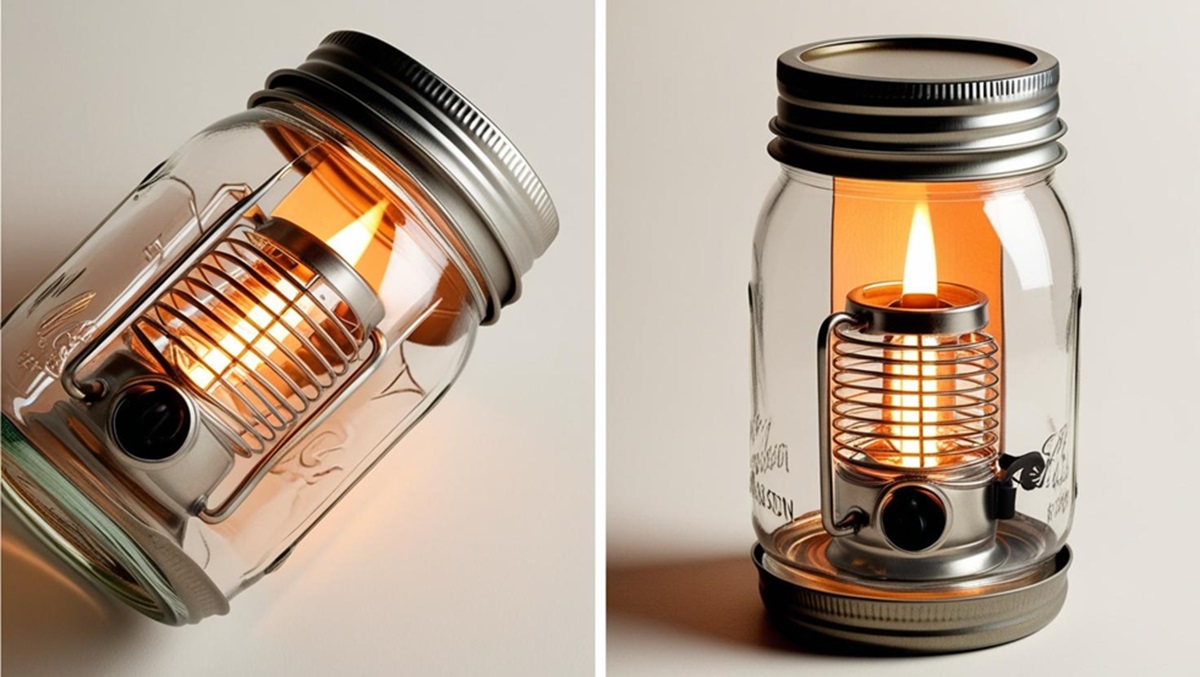
This classic and stylish design combines simplicity with functionality. Perfect for beginners, a mason jar LED lantern provides a soft glow and is safe to use in any camping environment.
Clean the Jar
Wash and dry your mason jar thoroughly to ensure the inside is clean and clear for optimal light diffusion.
Prepare the Light Source
Turn on your battery-powered LED tea light or small string light. If using string lights, coil them neatly so they fit inside the jar evenly.
Insert the Light
Carefully place the LED light inside the jar. If you want the light to stay centered or fixed in place, use a dab of super glue or hot glue on the bottom.
Seal and Decorate
Screw the lid on the mason jar securely. You can decorate the jar with twine wrapped around the neck, or apply stickers and decals for a personalized look.
Test It Out
Turn off the lights in your room or test it outside at dusk to see your new lantern in action. It should emit a warm, ambient glow.
This mason jar lantern is lightweight, reusable, and safe, making it one of the easiest and most charming camping lanterns you can make.
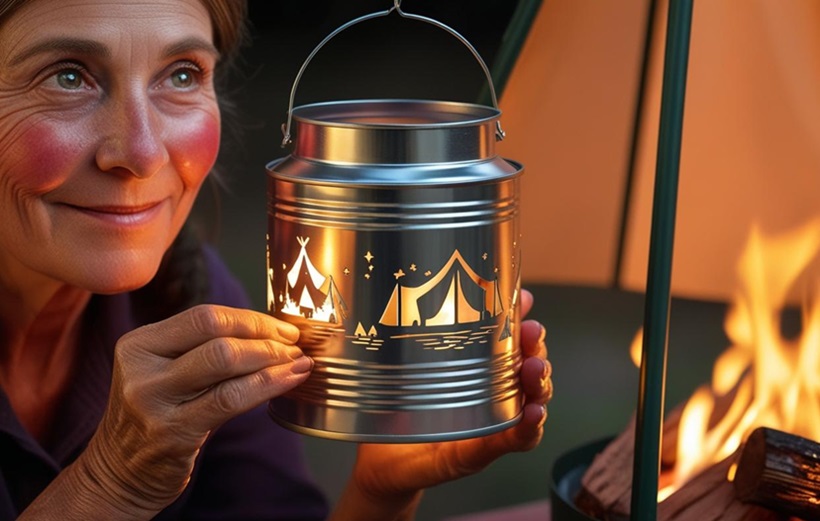
Rustic and resourceful, this lantern turns an empty tin can into a beautiful piece of camping gear. By punching holes in a pattern, you’ll create a lantern that casts decorative light patterns around your campsite.
Fill and Freeze the Can
Fill the empty tin can with water and place it in the freezer overnight. This helps prevent the can from bending when you punch holes into it.
Plan Your Design
Use a marker to draw dots or lines where you want the light to shine through. Simple star patterns or stripes work great.
Punch Holes
Remove the can from the freezer and immediately begin punching holes along the marked lines using a hammer and nail or a drill.
Add a Handle (Optional)
Using a nail or drill, create two small holes near the top of the can on opposite sides. Insert a piece of wire and twist the ends with pliers to form a sturdy handle.
Decorate and Dry
If desired, spray paint your can in a color of your choice. Let it dry completely before moving to the next step.
Insert the Light
Place an LED tea light inside the can and light it up. The holes will cast stunning patterns on your tent walls or picnic table.
This DIY project is both eco-friendly and practical, giving your old cans new life as decorative camping lanterns.
Harness the power of the sun with this upcycled solar lantern made from a plastic bottle. It’s perfect for environmentally conscious campers who want a green lighting solution.
Clean the Bottle
Remove labels, rinse thoroughly, and let the bottle dry completely.
Disassemble the Solar Light
Remove the solar panel and LED light section from the garden stake. Most solar lights pop right off with a gentle pull or twist.
Prepare the Bottle
Cut the top off the bottle (about 3 inches from the top). You’ll use this part to create a cap later.
Insert the Light
Fit the solar light into the neck of the bottle. Use waterproof tape or adhesive to secure it firmly in place. Ensure the solar panel faces up for charging.
Enhance the Light Output
Line the inside of the bottle with foil or white paper to reflect the light and increase brightness.
Reattach the Top (Optional)
If weather protection is needed, place the cut top section back over the solar panel to act as a cap, securing it with tape if necessary.
Charge and Use
Leave the lantern in sunlight for 6–8 hours. At night, the solar-powered light will automatically turn on and glow through the bottle.
This design is energy-efficient, sustainable, and ideal for campers looking for low-maintenance camping lanterns that last for years.