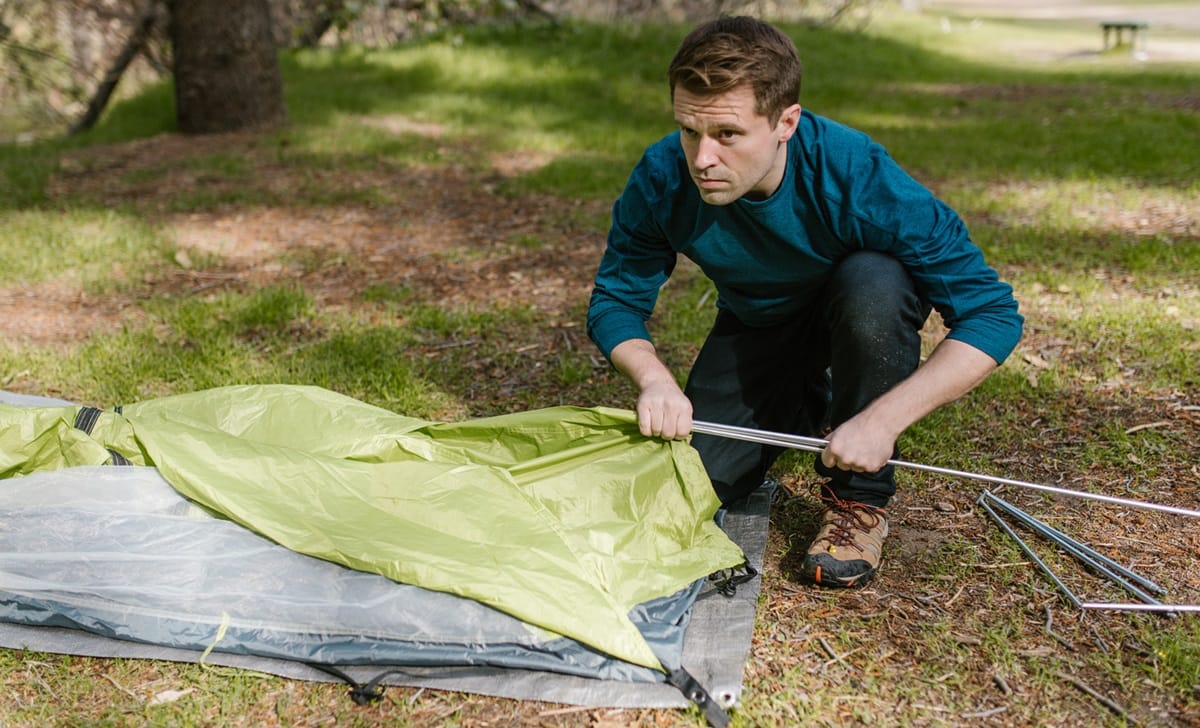
If you have never done it before, you may not know how to set up a tent. And this job might seem daunting for you. But with the right guidance, it can be surprisingly simple and quick. For beginners, it is all about understanding the basics and taking it one step at a time.
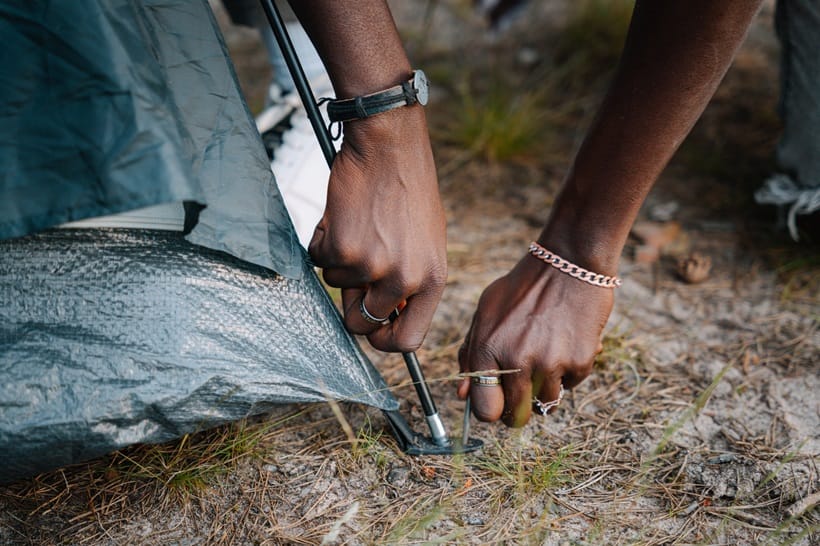
If you do not know how to set up a tent properly, you might think that you need advanced skills and special tools. However, all you need is a little patience and practice. For your information, modern tents are designed with user-friendly features. So, the whole process is easier than ever.
By familiarizing yourself with the instructions and your gear, you can enjoy a stress-free camping experience. With proper preparation, you will find that pitching a tent is not just manageable but can also be quite satisfying.
Apart from a tent, you will need several items to pitch a tent.
Tent Poles
These give the tent its structure and stability, ensuring it stays upright and secure.
Tent Stakes and Pegs
Useful for anchoring your tent to the ground, especially in windy conditions.
Ground Sheet or Tarp
Adds an extra layer of protection against moisture and improves insulation from the ground.
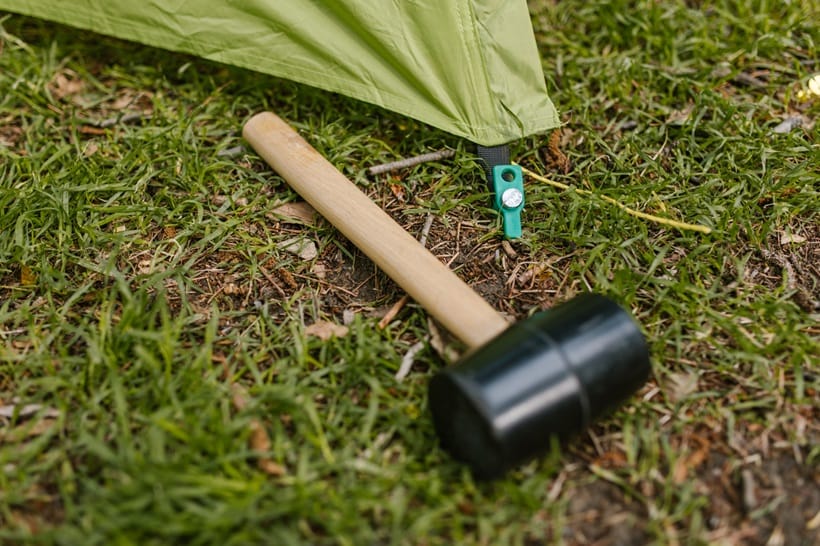
Mallet or Hammer
Makes it easier to drive stakes into hard or rocky soil without damaging them.
Repair Kit
Includes patches, tape, or glue for quick fixes in case of accidental tears or breaks.
Step-by-step Guide to Pitch a Tent
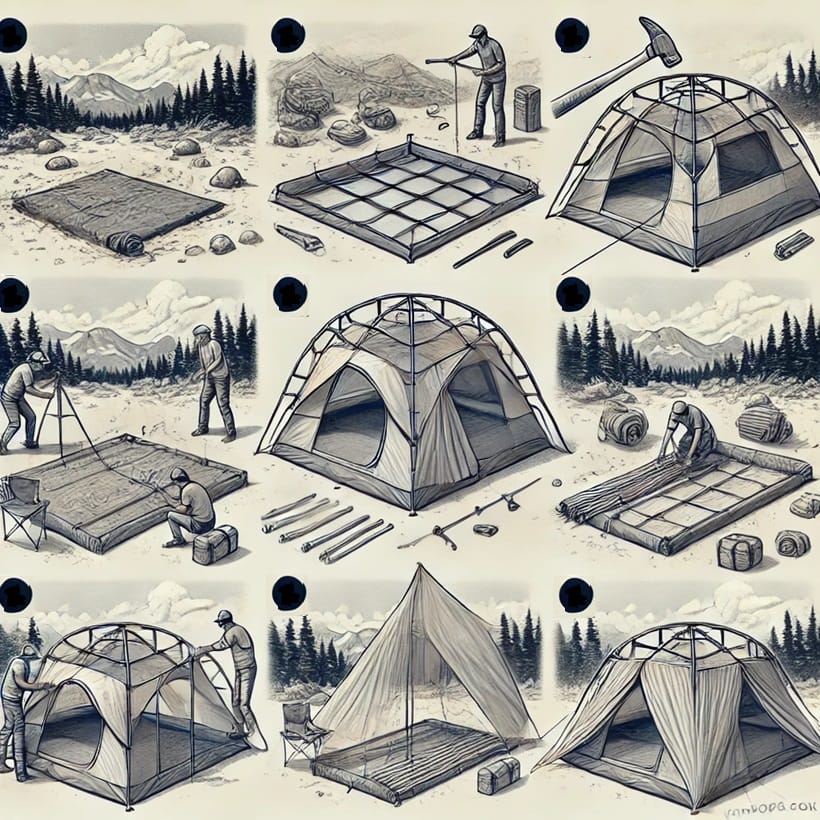
If it is your first time, you might need to figure out how to set up a tent. But believe us, pitching a tent in camping for the first time can be both exciting and nerve-wracking. All you need is to follow a clear guideline to have a smooth and enjoyable process.

Each step is designed to help you create a stable and comfortable shelter for your outdoor adventure. From choosing the right spot to securing the rain fly, every action contributes to a successful setup.
AI-generated image
Finding a Good Spot
Choosing the right location when pitching tents is crucial for comfort and safety. You should look for flat, level ground free of rocks, roots, and sharp objects to prevent discomfort or damage to your tent.
Additionally, you should aim for a spot slightly elevated to avoid water pooling during rain. You should also note that shade can help keep the tent cooler, but avoid areas under loose branches that might fall.
Lastly, consider wind direction and proximity to water sources while staying mindful of wildlife activity. A good location sets the foundation for a secure and enjoyable camping experience.
Laying Out the Groundsheet
The groundsheet, also known as the footprint, serves as a protective layer between the ground and your tent. Lay it out flat on your chosen spot, ensuring it covers the entire area where the tent will sit. It helps prevent moisture from seeping in and protects the tent floor from abrasions caused by rough surfaces.
Spreading the Main Body of Your Tent
Once the footprint is in place, spread the main body of your tent over it. Ensure it’s oriented correctly, with the entrance facing your desired direction.
Take a moment to straighten out any wrinkles, as this will make attaching poles and securing the tent easier. By setting the tent body properly, you create a solid base for the rest of the set up the tent.
Adding the tent poles
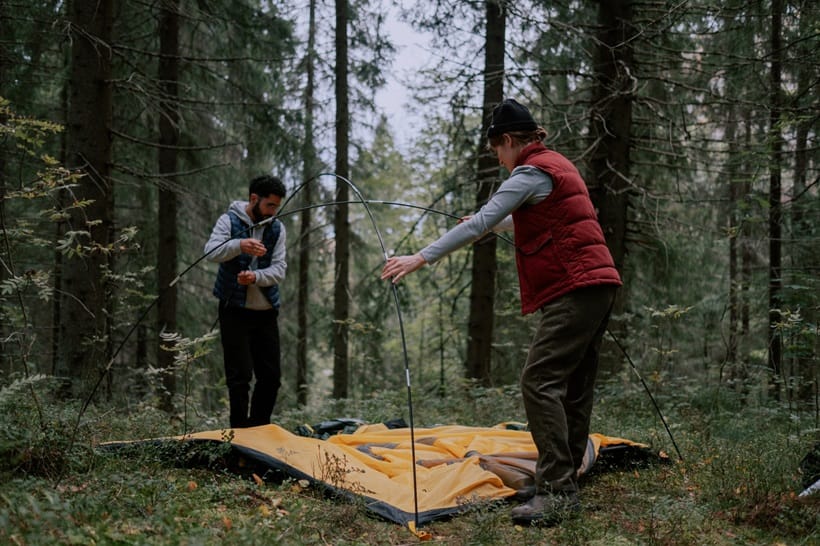
For camping set-up, poles are the backbone of your tent. Assemble them according to the instructions, ensuring each section is securely connected. Slide the poles through the designated sleeves or attach them to clips on the tent body. Check that they are properly aligned to provide structure and stability.
Attaching the tent body to the tent poles
Secure the tent body to the poles using clips, hooks, or ties, depending on your tent design. This step ensures the tent stands upright and takes its intended shape. You should make adjustments to the poles as needed so that you can ensure a snug fit.
Laying Out the Rain Fly
The rain fly offers an extra layer of protection against rain and wind. Drape it over the tent, aligning it with the doors and windows. Secure the rain fly using hooks or straps provided, ensuring it’s evenly spread. A well-placed rainfly helps maintain dryness inside your tent during unexpected weather.
Staking Out the Tent
Stability is essential in pitching tents. For stable tent setup, you will need to stake out the tent. Insert stakes into the loops or grommets at the base of the tent and drive them into the ground at a 45-degree angle. Ensure the stakes are firmly planted to prevent the tent from shifting or collapsing during strong winds.
Tightening Up the Rain Fly
Adjust the rain fly’s straps or guy lines to ensure it’s taut and evenly stretched across the tent. This prevents water from pooling on the fly and enhances its wind resistance. Double-check all connections to keep the rainfly in place, ensuring maximum protection against the elements.
Things to Consider While Pitching a Tent
Setting up a tent involves more than just following steps; paying attention to subtle details can make a significant difference in your camping experience. Below you can find tips to avoid common pitfalls and make the most of your outdoor adventure.
- Always check the weather forecast before heading out.
- A balance of partial shade and sunlight helps maintain comfort and dryness inside your tent.
- Position doors or windows to face the wind for natural ventilation, and avoid completely sealing the tent unless necessary.
- If an incline is unavoidable, orient your sleeping position so your head is higher than your feet for a better rest.
- Staying near restrooms, water sources, or designated cooking areas can be convenient but may also bring more noise and foot traffic.
- Ensure your tent is set up at a safe distance from campfires to prevent sparks or excessive heat from causing damage.
- Avoid areas with signs of animal activity, such as tracks or droppings.

