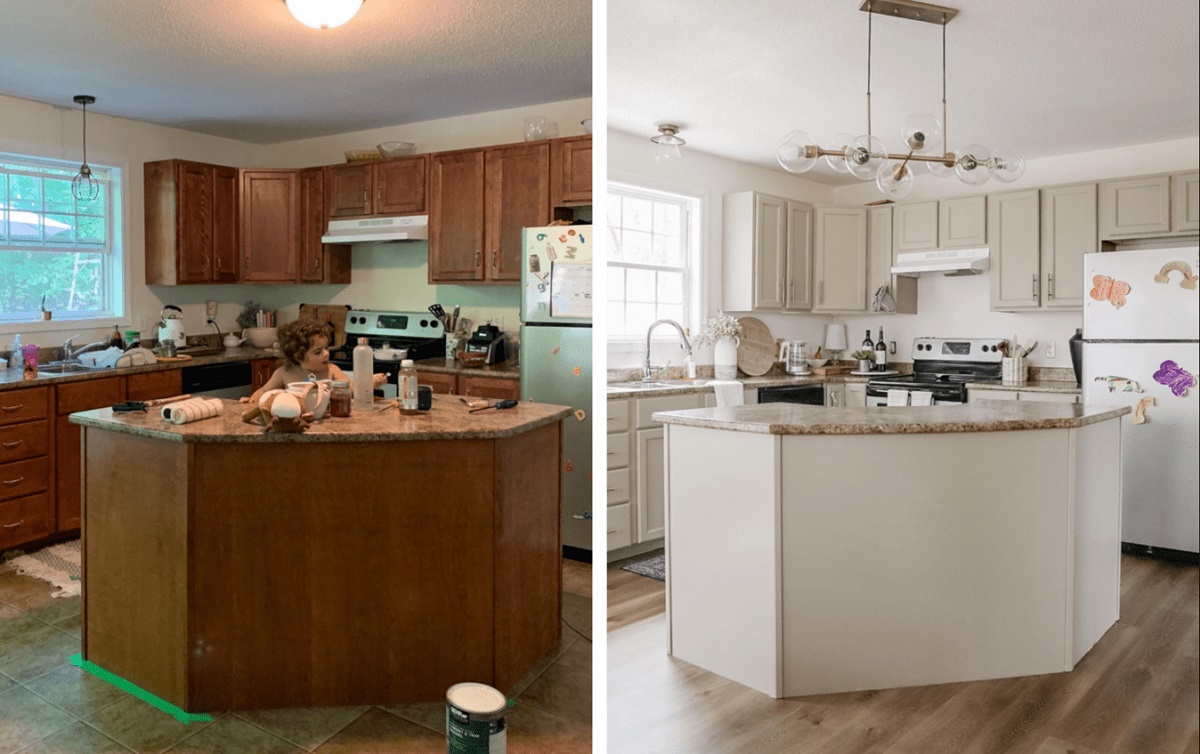
If you want to renovate your kitchen, you will be surprised when you see the cost of replacing the cabinets. It is unbelievable that kitchen renovation is one of the most expensive projects for your home. For example, if you replace your cabinets with new ones, you will probably pay about $5.000 for medium-quality cabinets. However, if you paint kitchen cabinets, it will cost around $200.
Before rushing to the store and buying the equipment, you should decide the paint type you will use. We can divide paints into two categories: latex and oil. Latex paints are water-based and fast-drying paints, while oil paints are oil-based and slow-drying. Most of the users prefer to use latex paints as they are more user-friendly.
Secondly, we will divide paint according to its forms of utilization: brush and spray. Although sprays are easy to use, their cost may be a little over budget. Therefore, if you want to paint kitchen cabinets on a budget, we recommend that you buy high-quality brushes.
Steps for Painting Kitchen Cabinets
After you choose the paint type, and color, you can start painting kitchen cabinets adventure. We will try to explain each step in the simplest way possible.
Supply list:
Primer
Paint
Roller Sleeves
Tools to be used:
Screwdriver
Permanent marker or sticky papers
Rags
Foam sanding block
Tack cloth
Paint tray
Brush
Paint roller
Prepare your kitchen.
Painting is serious work. because little mistakes can turn your life into a nightmare. In order not to be busy with cleaning the paint from your furniture or floors, you should be sure that you complete the steps below.
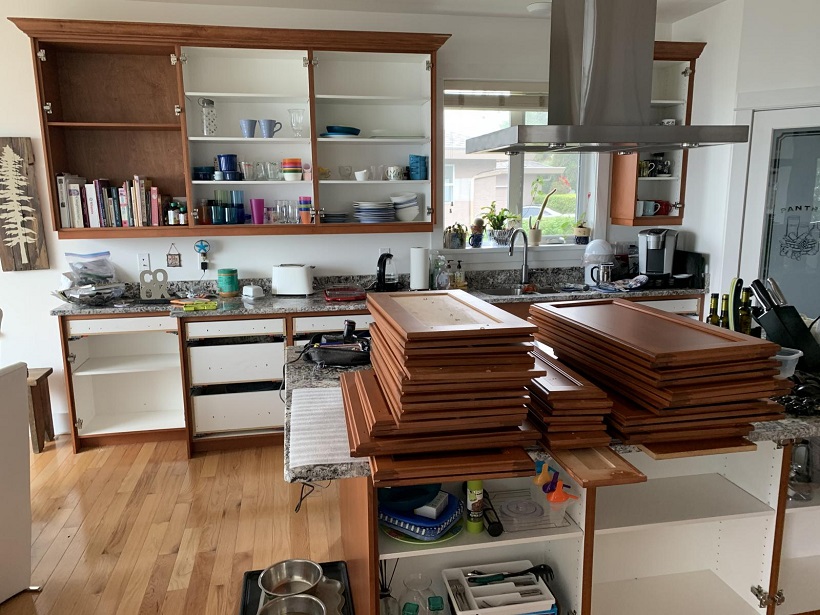
Empty the cabinets.
Take your movable furniture to another room.
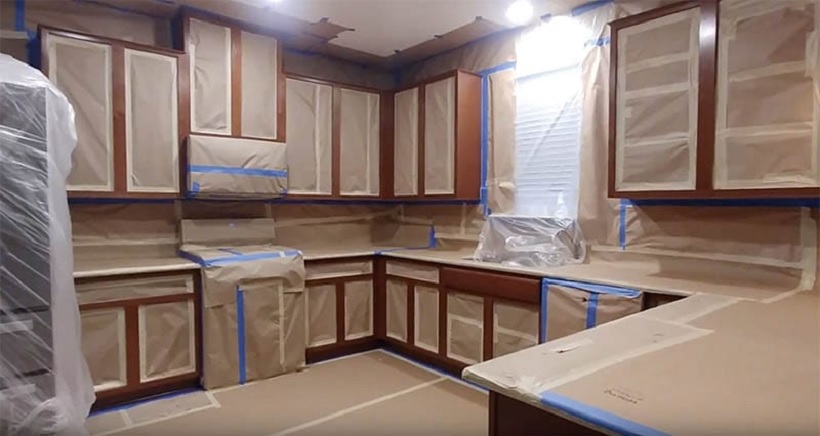
Cover floors and countertops with rosin paper or something else.
Locate a table that you will work on for painting kitchen cabinets.
Disassemble the cabinet parts.
In order to paint kitchen cabinets properly, you should disassemble all the parts, like cabinet doors, shelves, drawers, and handles. In order not to get confused with all the parts after painting, you should mark each part according to the places they used to be.
Clean All the Surfaces
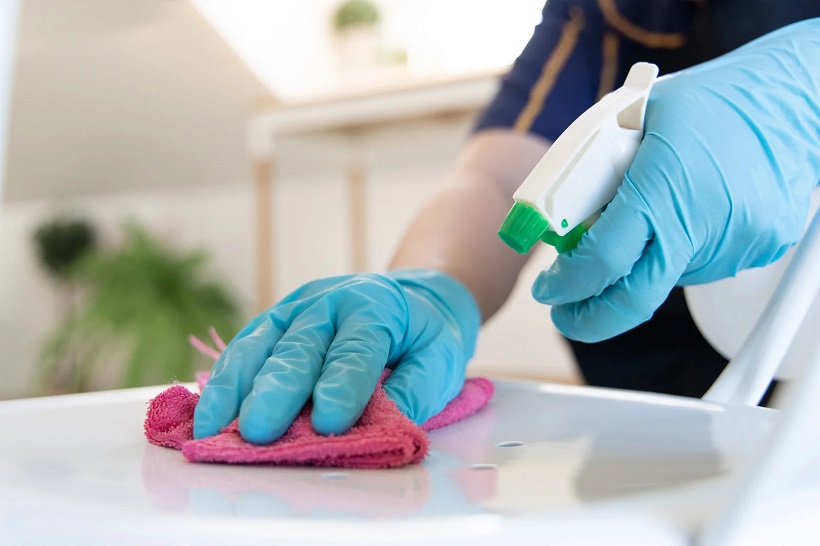
Before starting to paint kitchen cabinets, you should be sure that you clean all the surfaces of the cabinet. Because if there is dust on the surface of the cabinet, the painting will not be successful. In addition, the surface of the cabinet will not be smooth after painting. After clearing your cabinets of all the dust and oil, you should let the cabinets dry.
Rub the boxes
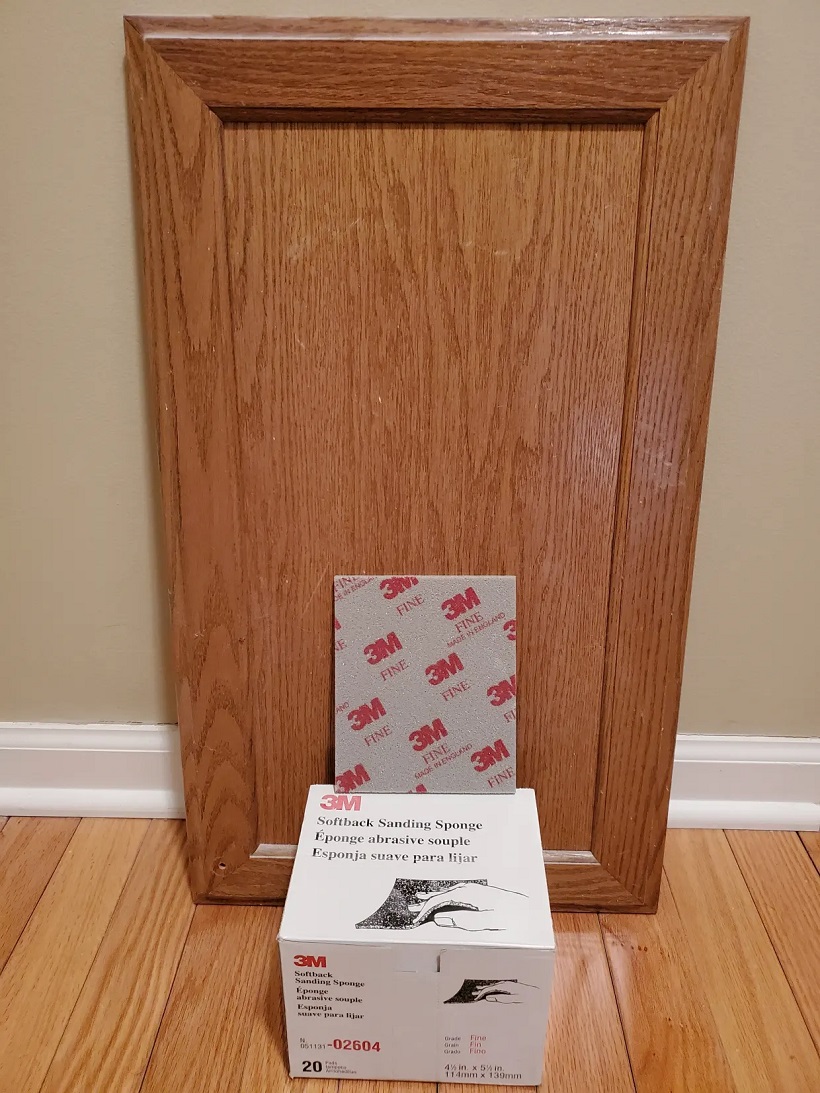
If order to get the smoothest surface, you should rub both inside and outside of the cabinets. Try to be gentle. This step is only for the best result and to give the primer something to adhere to. Therefore, you should not rub the bare wood. After rubbing the cabinet, you can use a tack cloth to remove the sanding dust.
Start with the primer
The first step of painting kitchen cabinets is primer. Primer helps ensure maximum adhesion, which means better painting and a longer life for the paint. You can use either an oil-based or 100% acrylic latex primer. Both are fine.
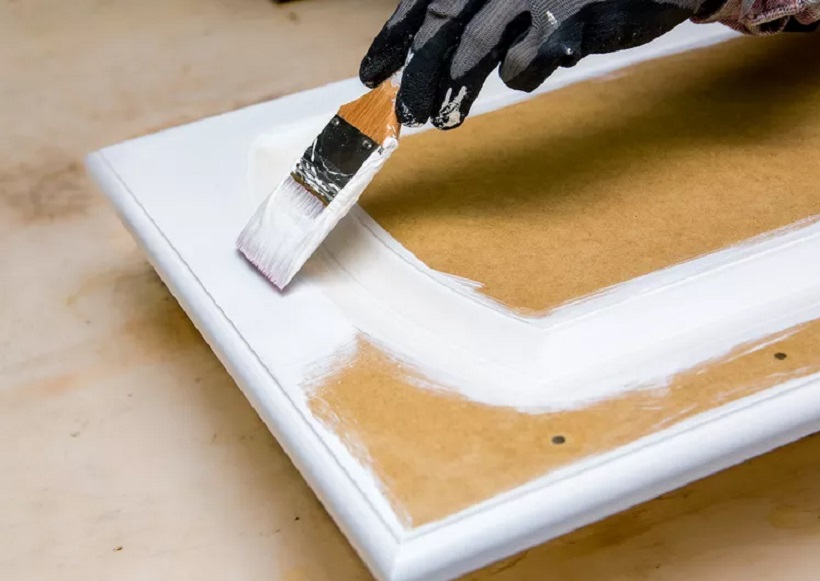
Into the paint tray, pour some primer. Load the brush and roller. You should use the roller on a large, flat surface. In addition, use the brush on the edges and tight spots.
After applying the primer to all surfaces, you should wash your brush and roller. Before painting kitchen cabinets, you should wait for the primer to dry.
Getty Images
Paint the cabinet
If you are painting kitchen cabinets the same color, two coats of paint will be enough for you. But if you are changing the color, it may require three or more coats. It depends on colors shades. For example, if you are changing from a dark to a lighter color, you may need more coats.
Put all the pieces back together
After you finish painting kitchen cabinets, you need to let the cabinet and all its parts dry. Although it depends on the paint type, generally you should wait at least 24 hours. After the waiting period is over, you can reassemble all the parts belonging to the cabinet.

